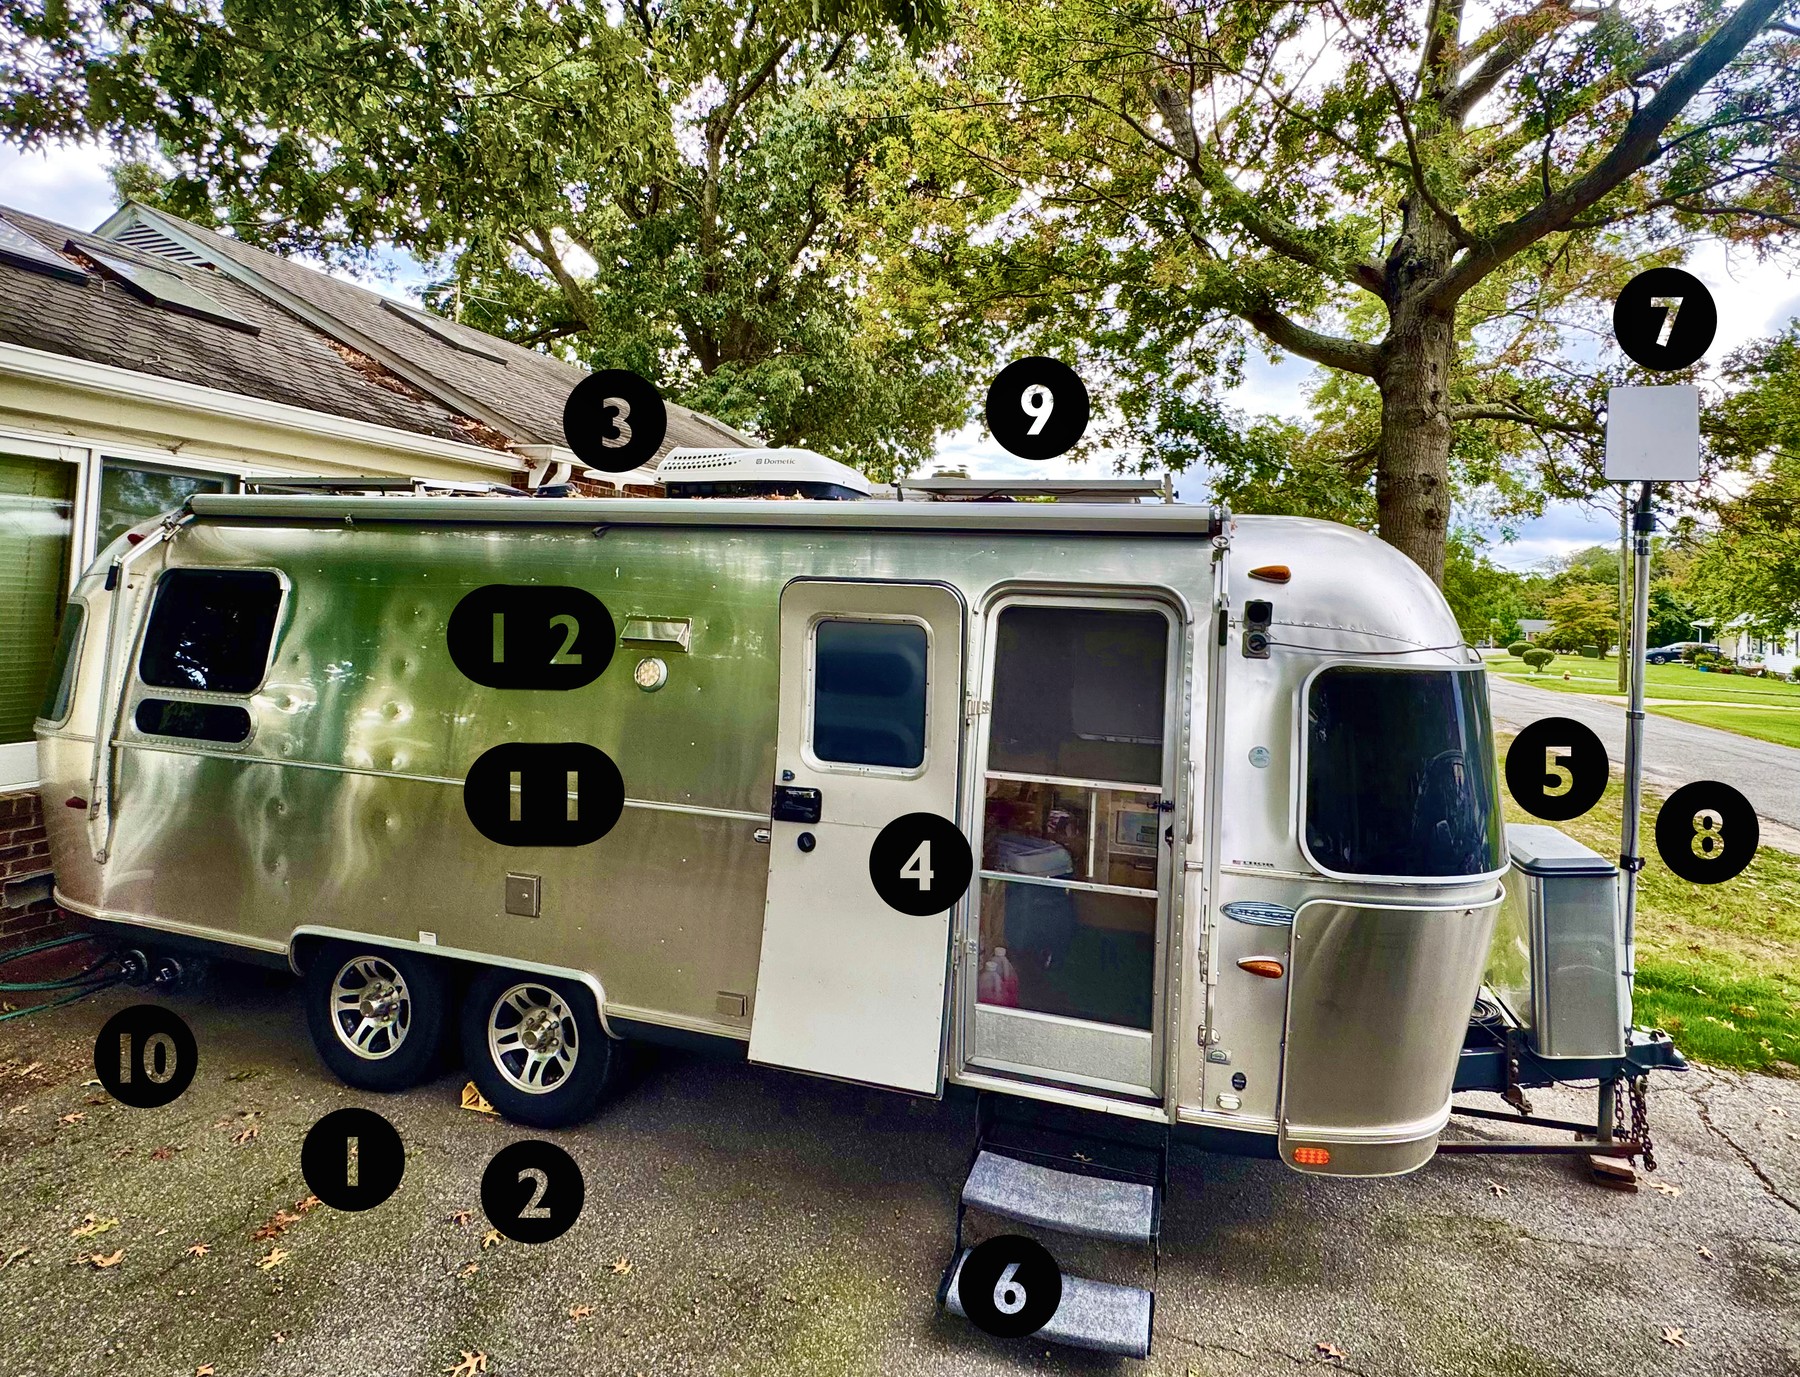
Twelve Exterior Upgrades for Your Airstream
Life on the road deserves a little more pleasure & convenience.
This is the third installment in our improvement series, this time focused on the outside exterior of the camper. Most of the third-party equipment installed at the factory in a new Airstream is mediocre at best, and tends to fail within a few years — so over time, we've replaced, rebuilt, or improved nearly everything in ours. Most of these tweaks are generic and will work in virtually any Airstream model.
Built into our 2015 Flying Cloud #2381 · David & Margaret Broad
Questions? davidbroad@icloud.com
Upgrade Tires to 16″ Rims
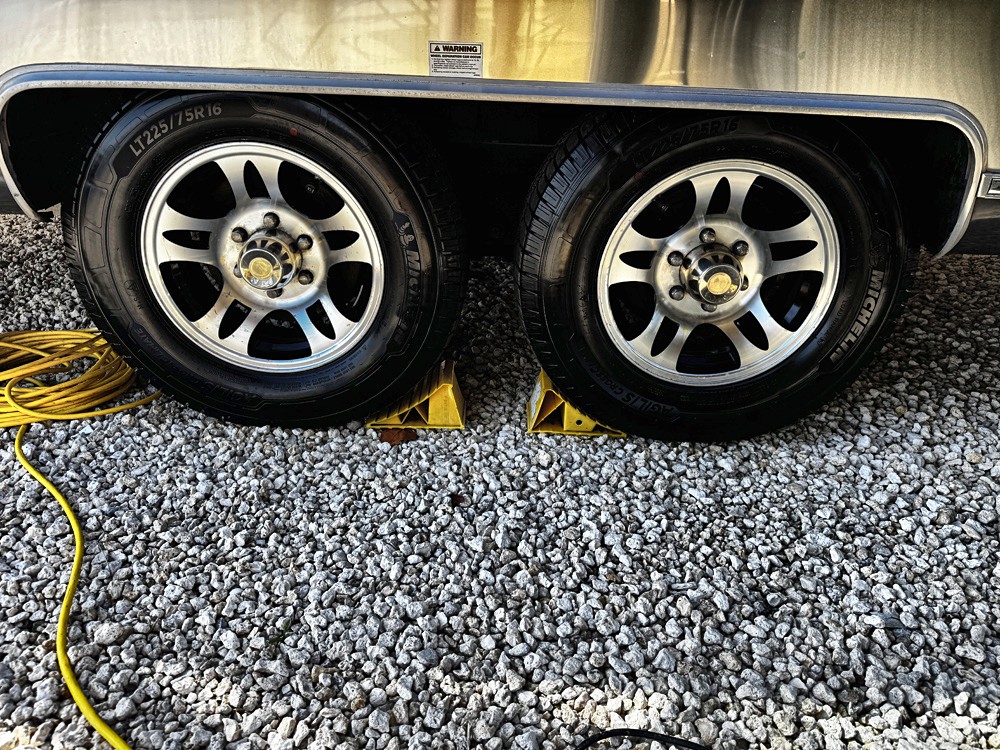
Tire upgrades are one Airstream tweak that comes with genuine sticker shock. Several fellow travelers had already moved from 15″ to 16″ wheels, matching the Airstream special-edition spec of Sendel aluminum wheels and Michelin LTX tires. With a WBCCI Alaska caravan on the horizon — and no shortage of Goodyear Marathon horror stories on the forums — we retired our three-year-old, 28,000-mile Goodyear Marathon ST225/75R15 (Load D) tires and fitted light-truck Michelin Defender LTX M/S LT225/75R16 (Load E) tires instead. The trick to softening the financial blow: list the old 15″ wheel set on a club forum or Craigslist — there's no shortage of interest. Eight years and 90,000 miles later, we upgraded again, this time to Michelin Agilis CrossClimate 225/75R16 tires.
Install Tire Pressure Monitoring
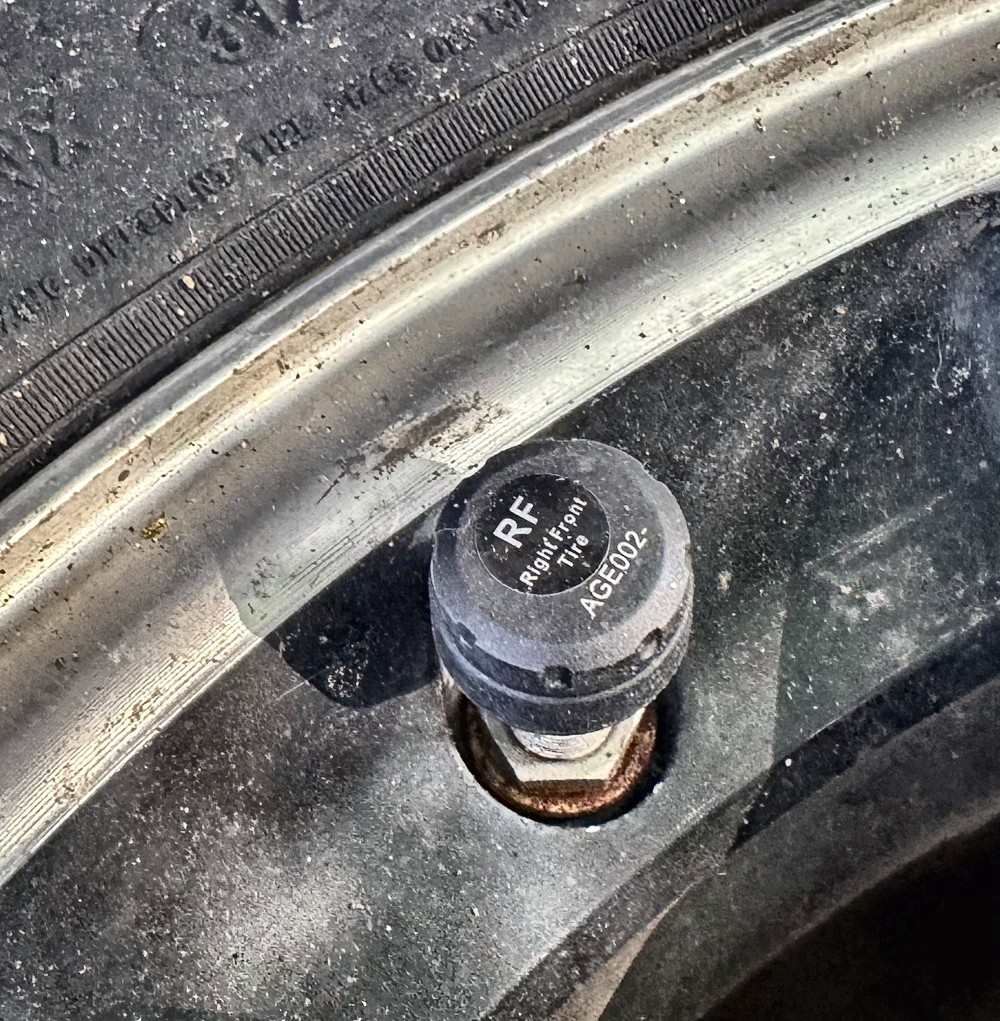
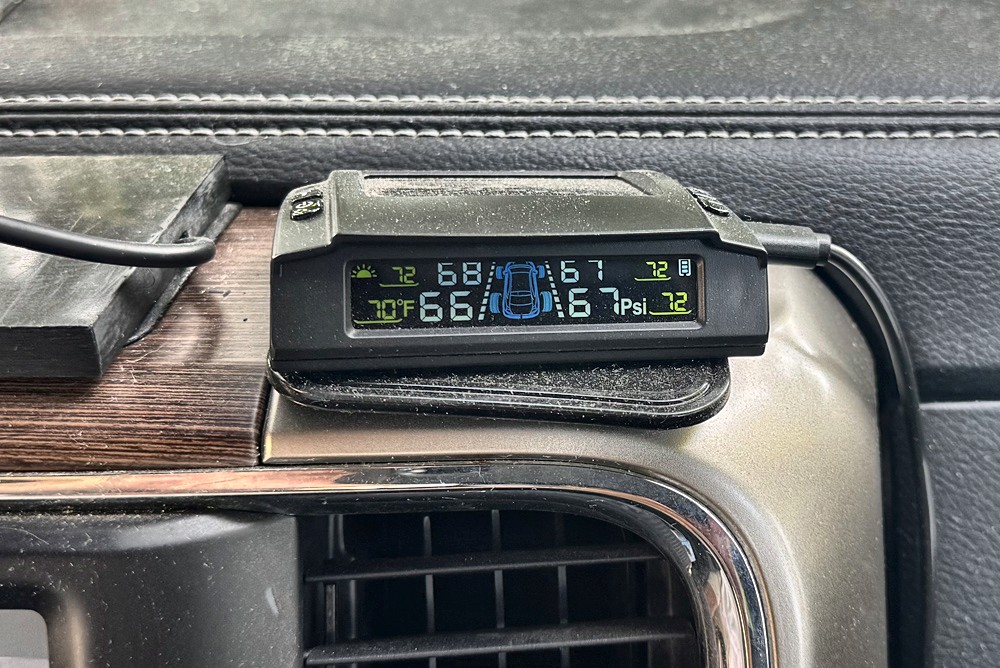
Near the top of the list for towing peace of mind: a tire-pressure monitoring system. Ours is a TST (Truck Systems Technology) setup, purchased from Jerry O'Connell, who set it up for us. Tires normally run 65 psi rolling and warmed up, with the alert threshold set at 50 psi. It worked flawlessly, apart from the occasional dropout on the spare — likely because it sits under the trailer, out of easy wireless reach. This upgrade matters even more since we often cruise the interstates at 70 mph when conditions allow. After roughly 100,000 miles the original sensors finally gave up the ghost, and we replaced the system with a new Masoll M23RV TPMS and four sensors, for about $64.
Install Easy-Start Air Conditioning Kit
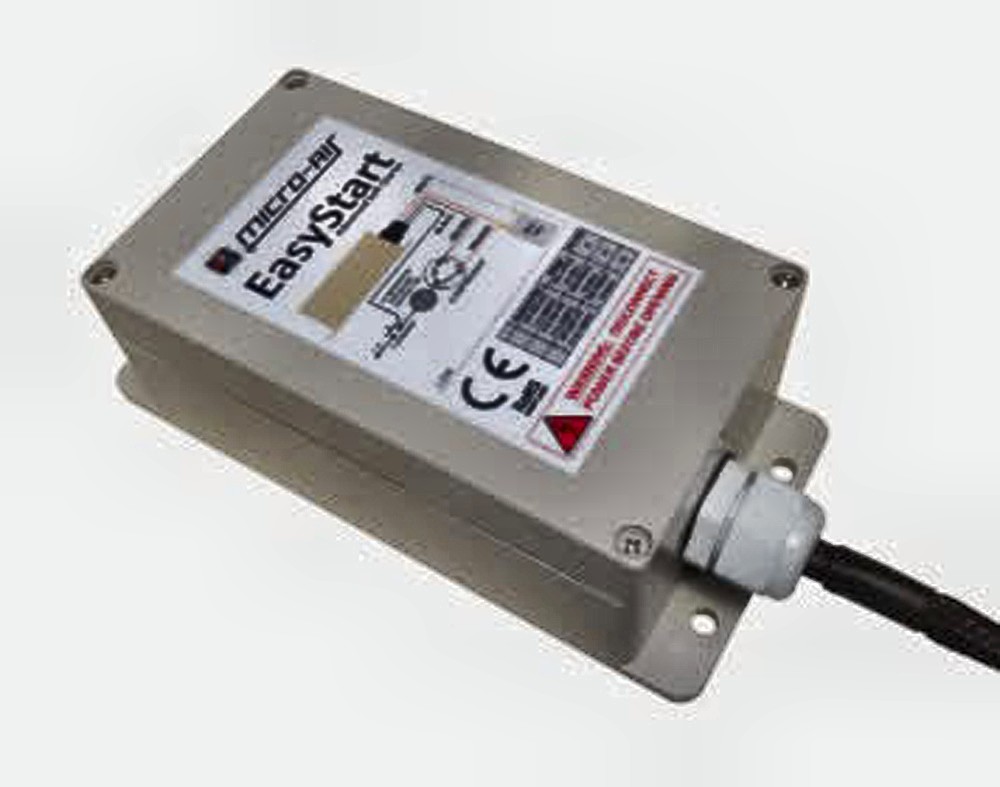
Another easy upgrade for our Flying Cloud 25: a Micro-Air EasyStart, which lets our air conditioner start up on our Honda EU2000i generator. EasyStart cuts starting current by roughly 75 percent, getting you past the large current spike a conventional AC compressor draws on startup. It's still satisfying every time — running full air conditioning while connected to nothing more than a 15-amp service.
Remove Solid Panels in Door
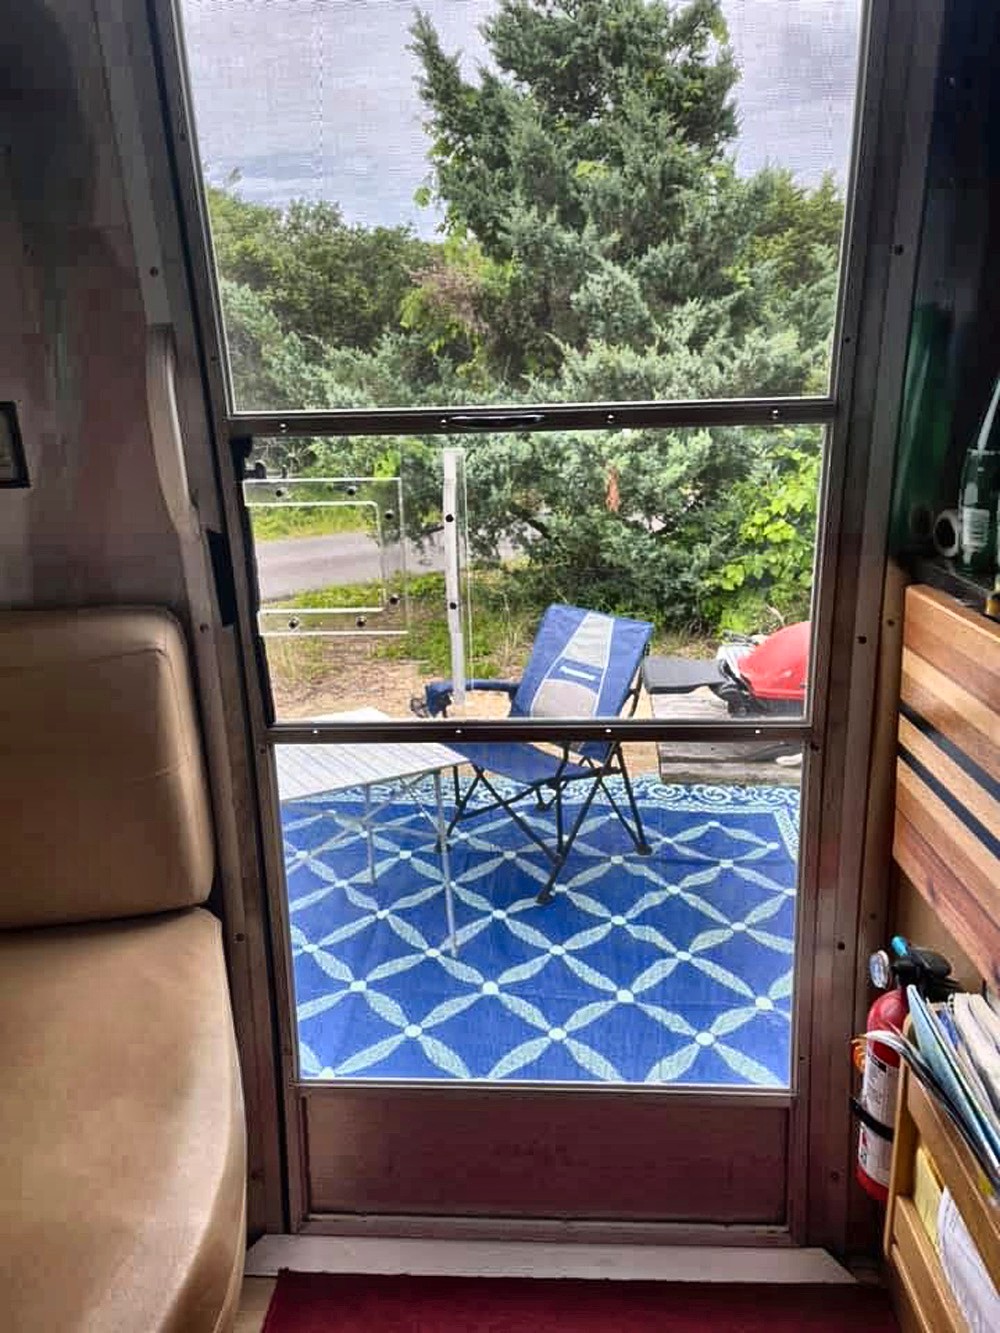
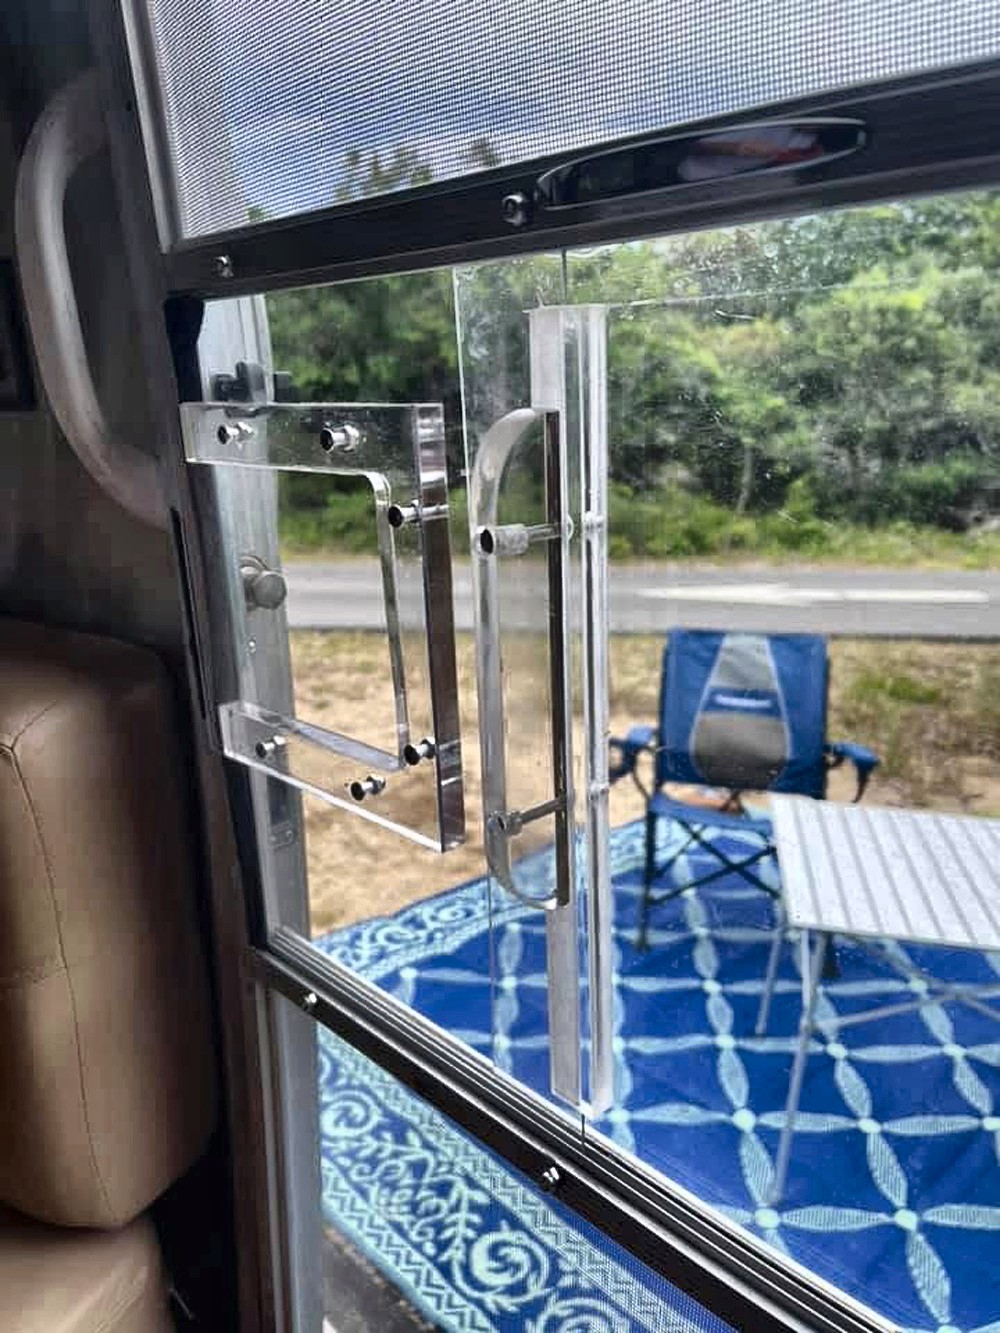
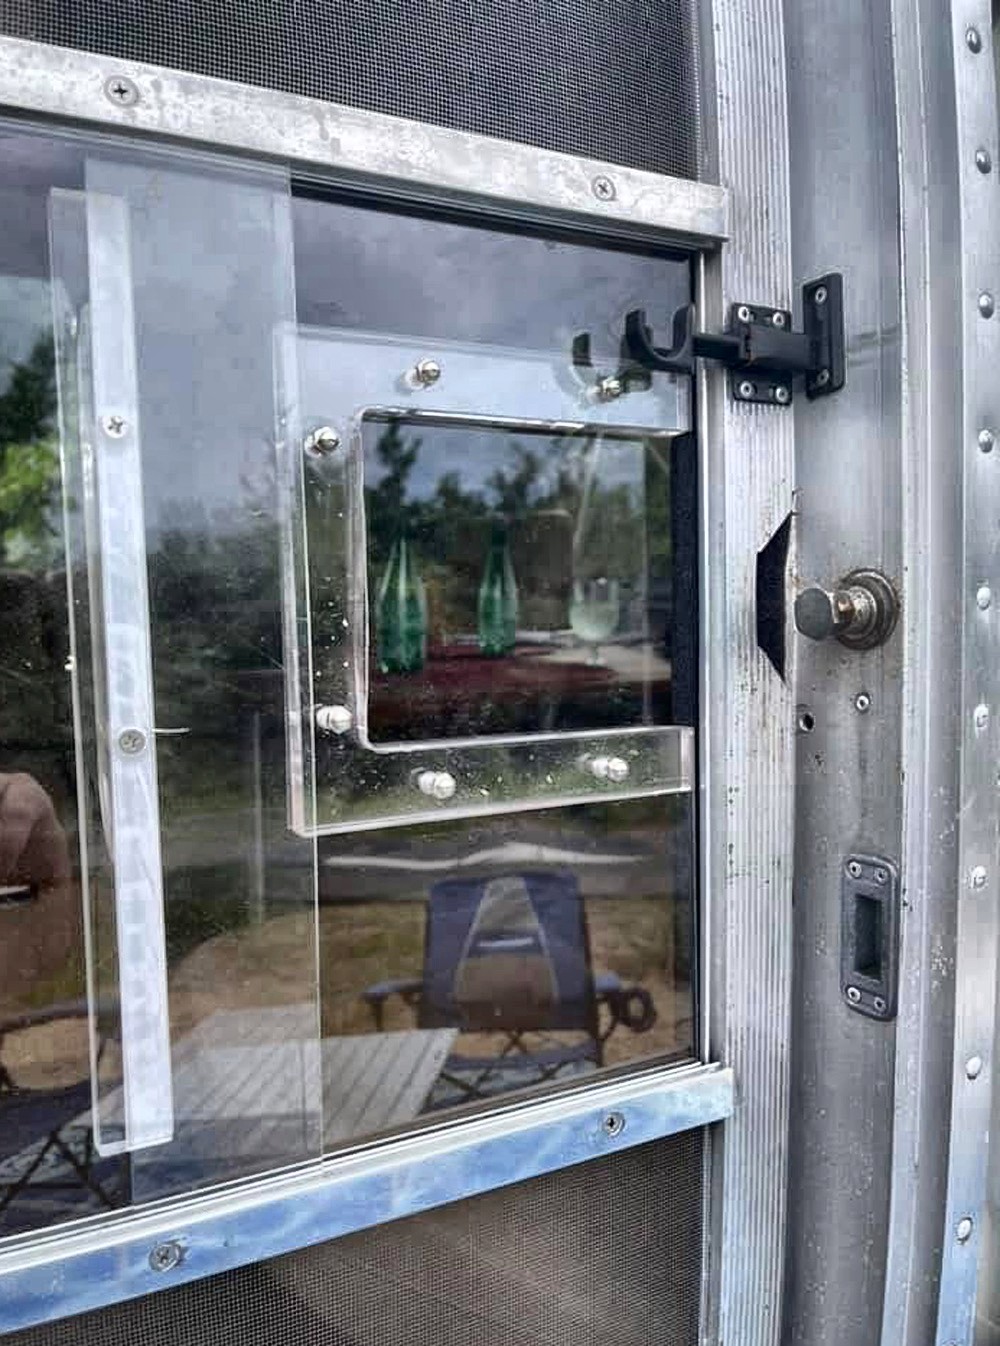
Our transparent door panel has been a work in progress, with more than a few failures along the way. The goal was maximum light and visibility through the door — first removing the screen's protective grid, then the solid aluminum mid-door panel. The sliding panel proved the tricky part: handle clearance called for a U-shaped ½″ plexiglass separator. Our first attempt, cut from plexiglass alone, lacked strength and cracked. We switched to 1⁄16″ Lexan paired with a plexiglass panel, which held up structurally but still needed more vertical rigidity. Acrylic glue was our first assembly method, but it trapped bubbles and looked poor, so we moved to stainless steel machine screws and stainless caps instead.
A few refinements remain, but the clarity it brings to the view from our Airstream door is worth every attempt — this is roughly the fifth version. One trick worth sharing: running a blow torch gently along a cut plexiglass edge polishes it beautifully — just remove the protective film first. With a healthy supply of plexiglass and Lexan offcuts on hand, another failure is always an affordable option.
Extra Storage in Top of Propane Box
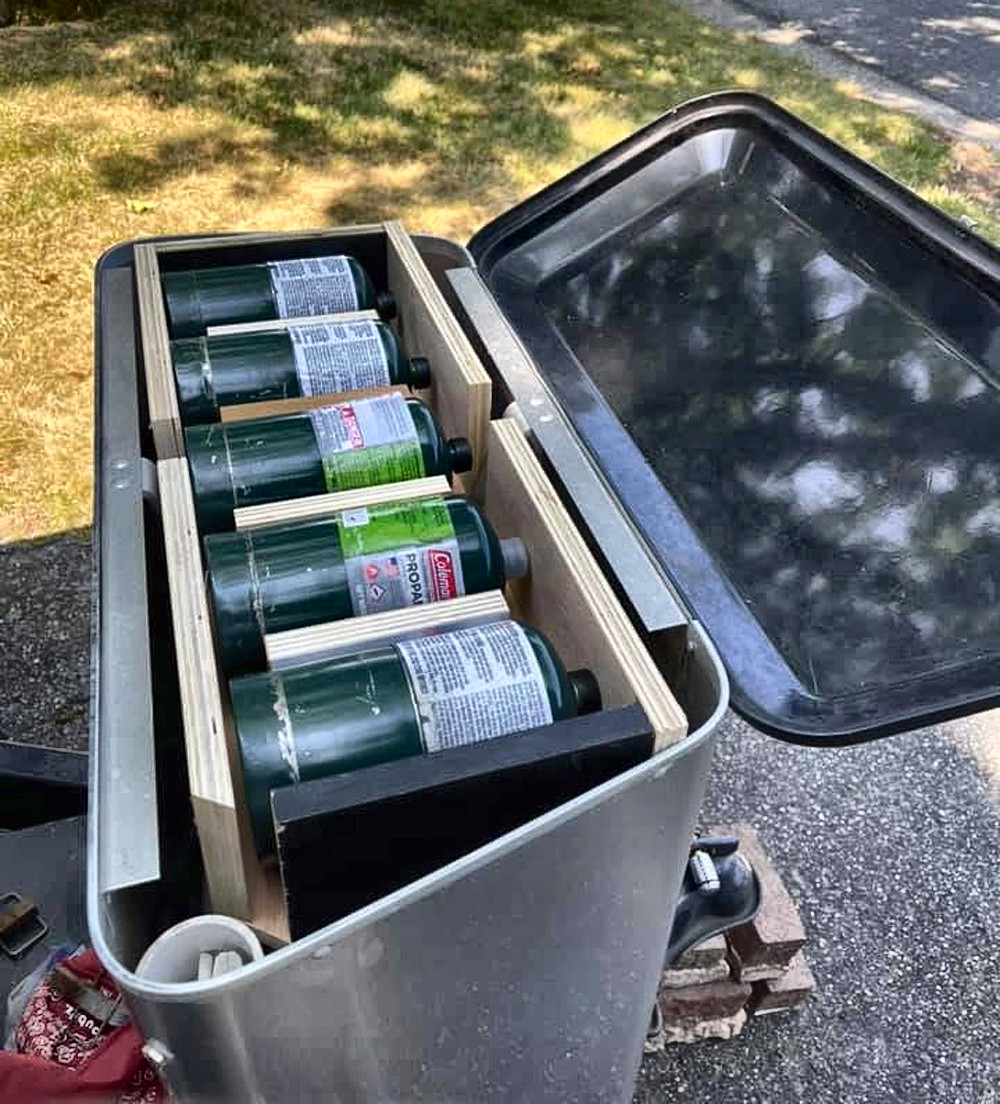
We first spotted this idea on Airstream Addicts and couldn't resist building our own version — a compact box to hold five small 1 lb propane cylinders for the Weber Q grill or a Mr. Heater Buddy. We built a simple 24″ x 9.5″ box with ¼″ indexed cutouts in the base for the cylinder struts, locking collars, and gauge protrusions, plus ¾″ sides and ends. Four glued-in ¾″ separators keep the cylinders from rolling. It frees up welcome room elsewhere in the propane bay and puts otherwise wasted space to work — a custom box like this suits dozens of uses (a tool kit or coiled electrical cable are popular choices among fellow Airstreamers), though a lid lock is worth adding if the contents are valuable.
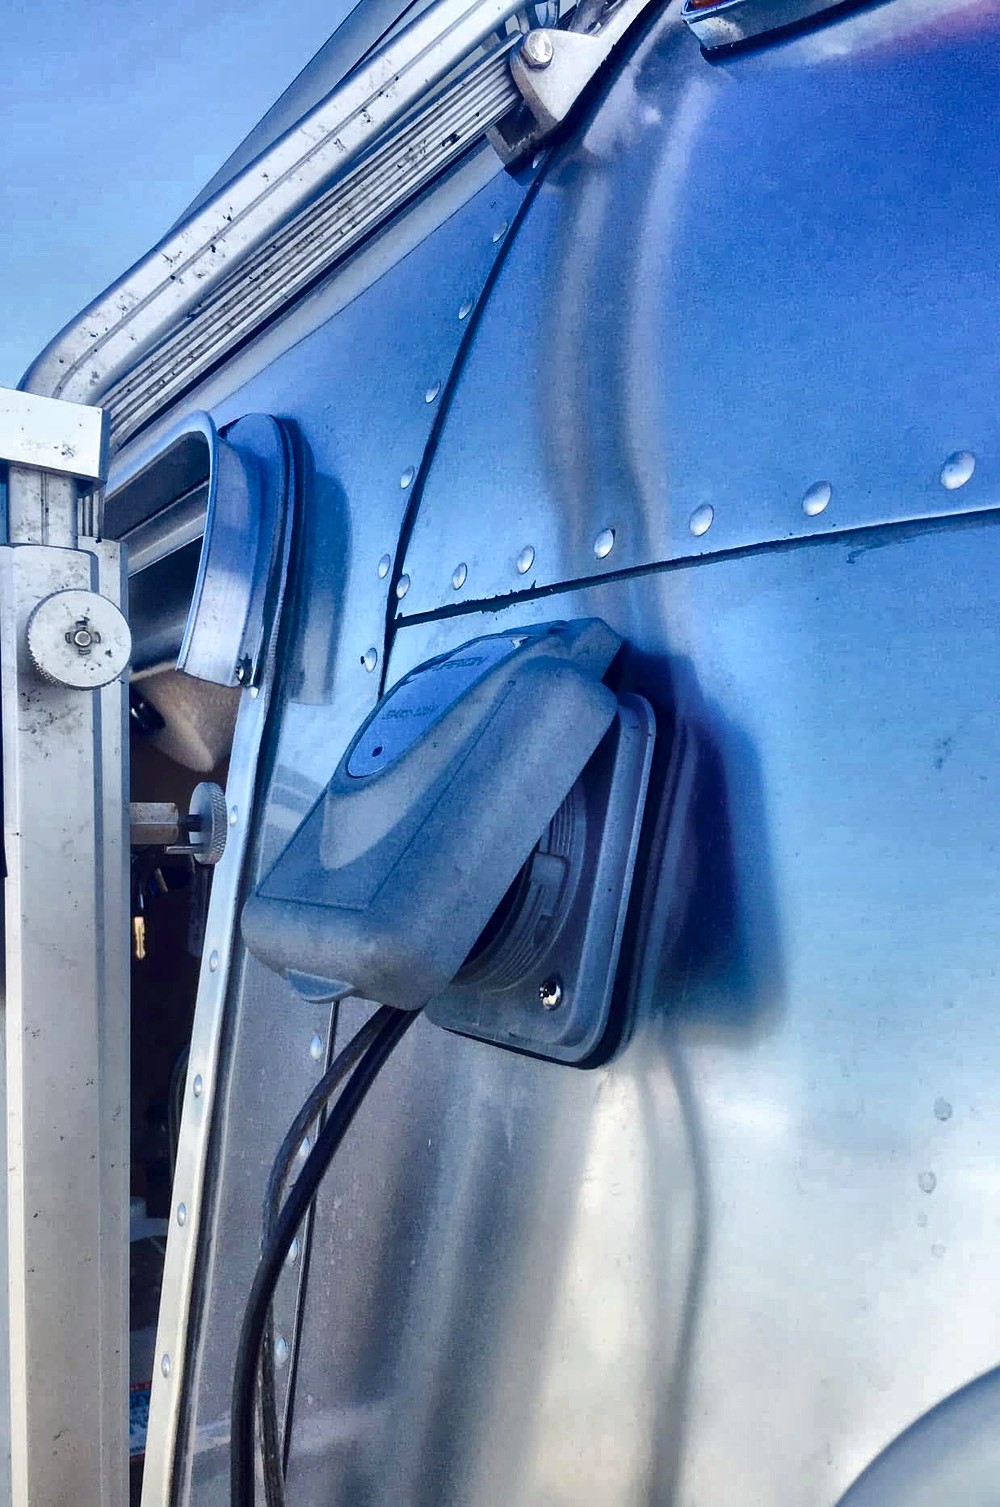
Replace Entry Steps and Stair Mats
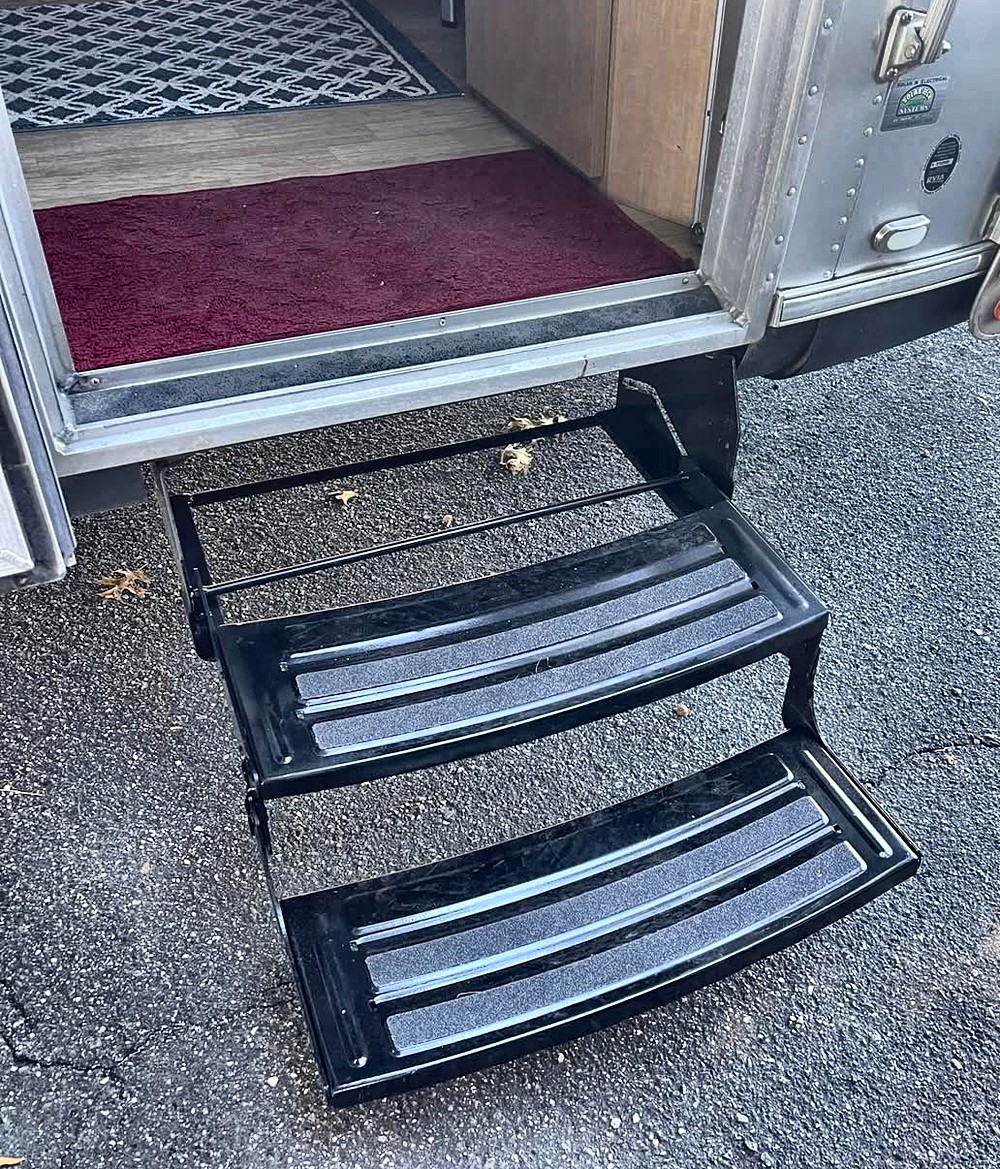
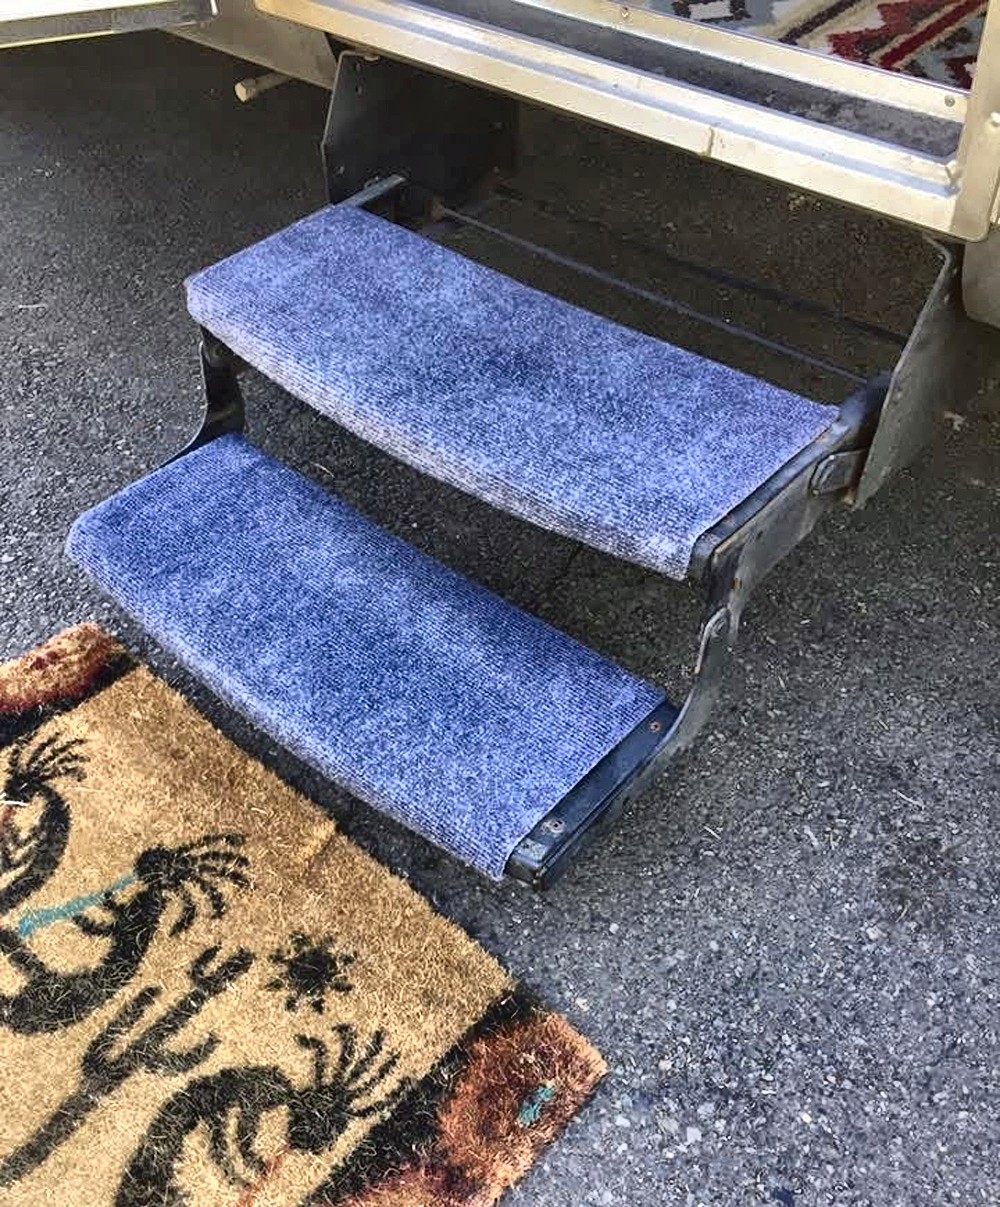
Seven years in, our Flying Cloud's factory steps were showing their age — flexing an inch or two underfoot on boarding, with rust becoming hard to ignore. We asked DJ, our go-to Airstream technician, to inspect them for repair or replacement; he recommended fitting the latest step assembly. The difference in confidence when boarding is immediate. We finished the job with Camco wraparound stair carpet, giving the entry a tidy, comfortable blue-carpet look.
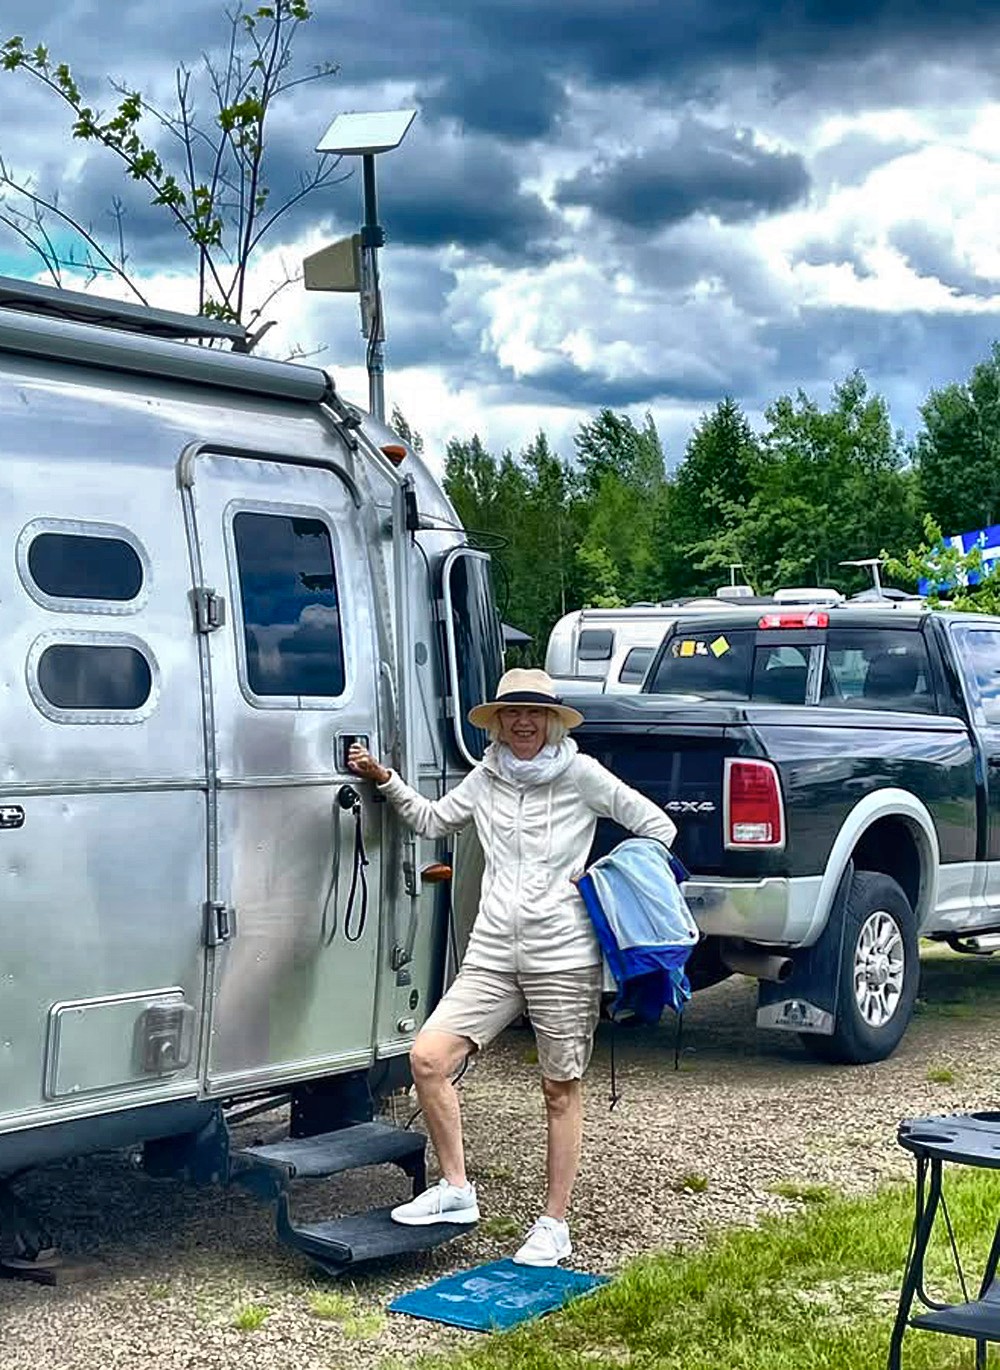
Starlink Satellite Communications
After fifteen months on the waitlist, we moved our service address to a friend's house five miles down the road — and Starlink shipped within the hour. We activated it there on the river, then set it up for real a week later in northern Quebec. It has run superbly and constantly ever since, becoming the complete answer to our on-the-road and off-grid communication needs. A brilliant concept, beautifully executed. Starlink now handles our calls over VOIP as well, which made our WeBoost cellular booster — mounted on the same telescopic flagpole — redundant.

Telescopic Communications Pole
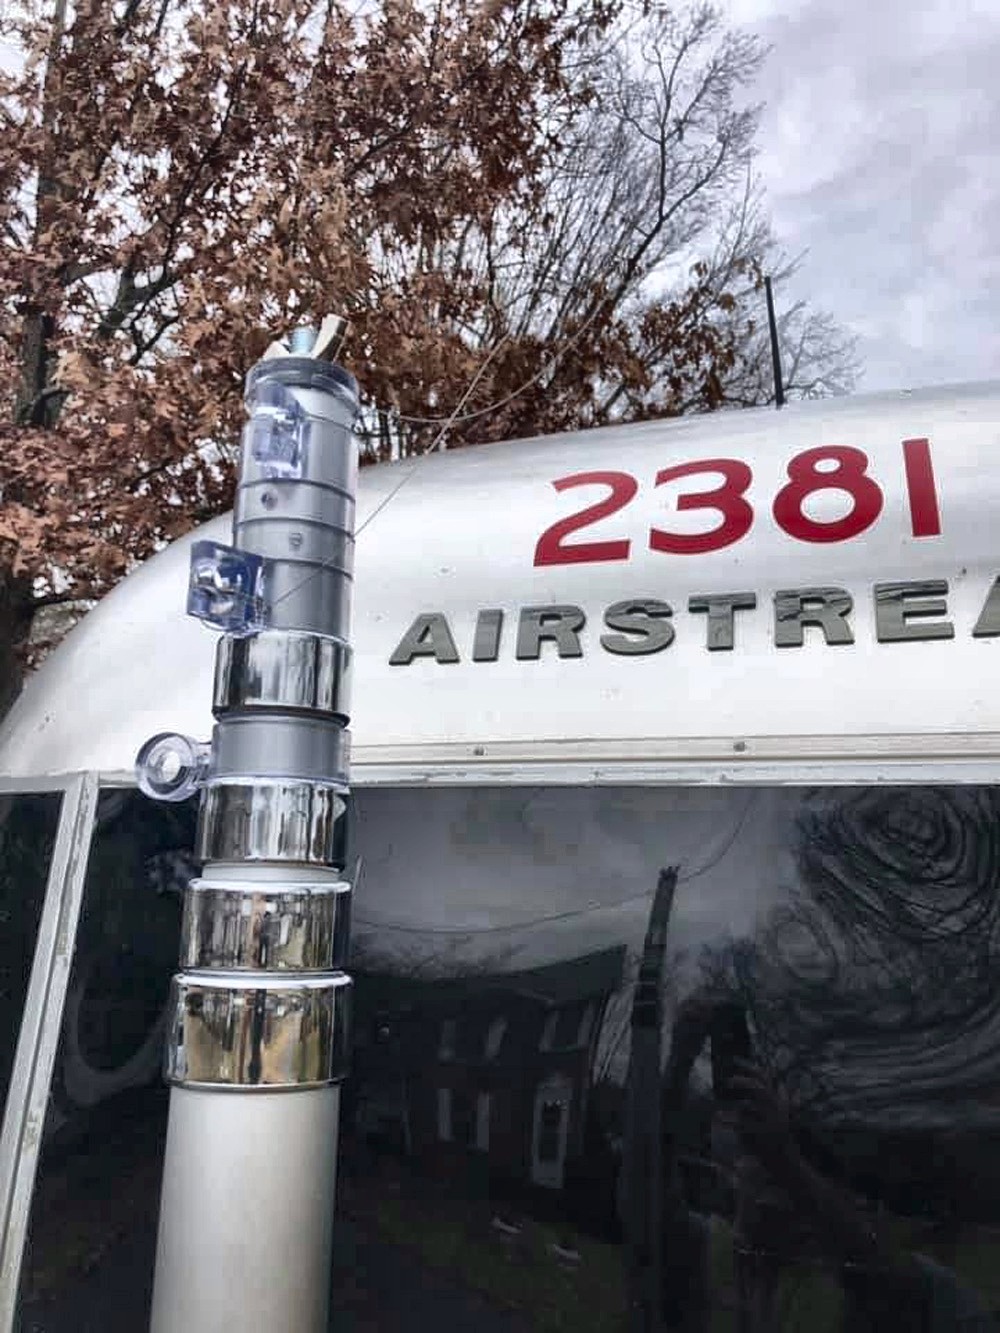
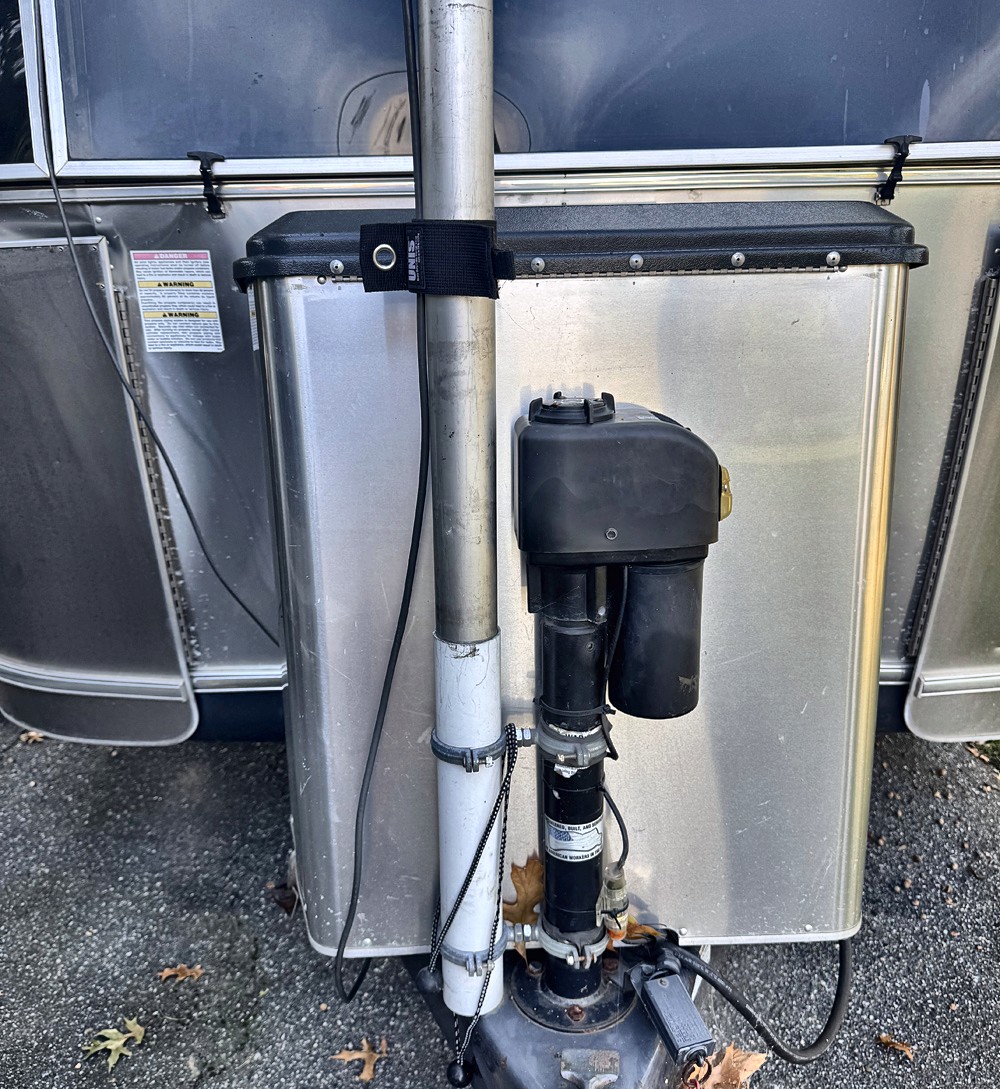
Our original antenna mast, built from heavy stainless square tube, took real effort to assemble. One of the trip leaders on our Alaska caravan instead used a telescopic flagpole, mounted on the trailer jack and left collapsed for travel. We ordered one and modified the head to carry two aluminum angle supports — one for a Wi-Fi booster, one for a cellular booster — each secured with a stainless wing nut. Collapsed, the pole stands about five feet; fully extended, twenty. As those boosters were gradually made obsolete by newer technology, we repurposed the same pole to carry our Starlink antenna instead.
Add Solar Panels, Lithium and Inverter
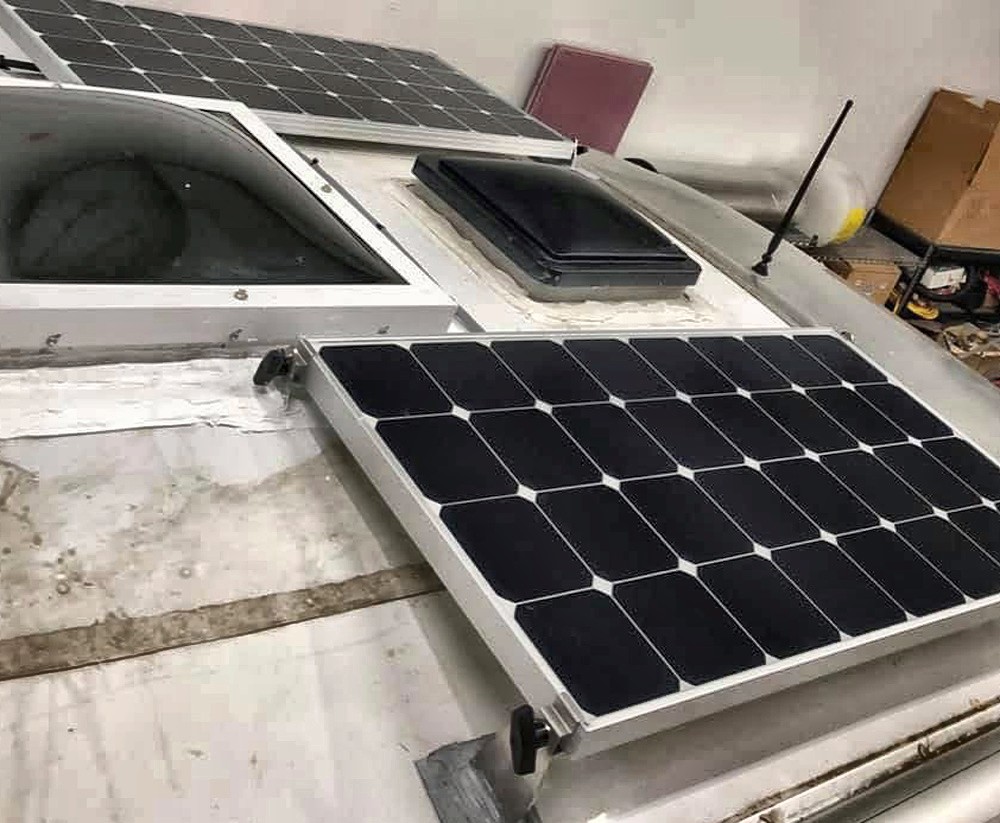
Four SP-100 solar panels are mounted with 3M VHB tape, each on an adjustable bracket that tilts up to 60 degrees for the best sun angle. Wiring runs through a combiner box and a hole cut in the refrigerator cabinet roof, down to a Victron SmartSolar MPPT 100/30 controller, which broadcasts live voltage and current data over Bluetooth to a phone app. That feeds a Victron MultiPlus 2.75kW inverter/charger and a bank of four Battle Born BB100 lithium batteries — plenty of power for genuine off-grid adventures.
Under-Floor Storage Tubes
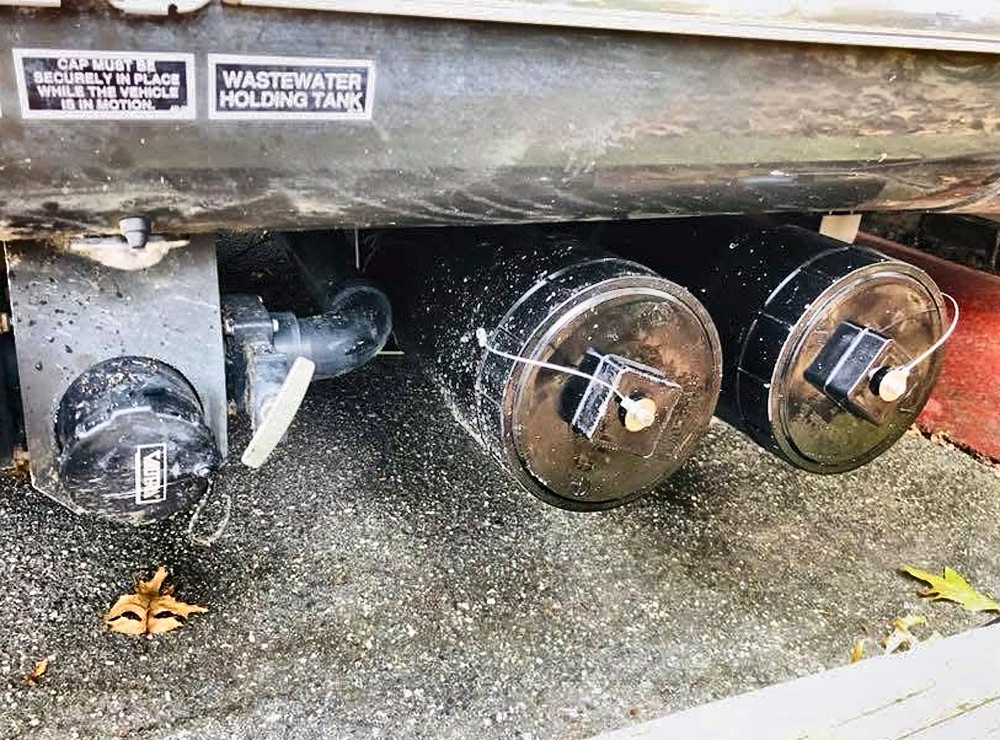
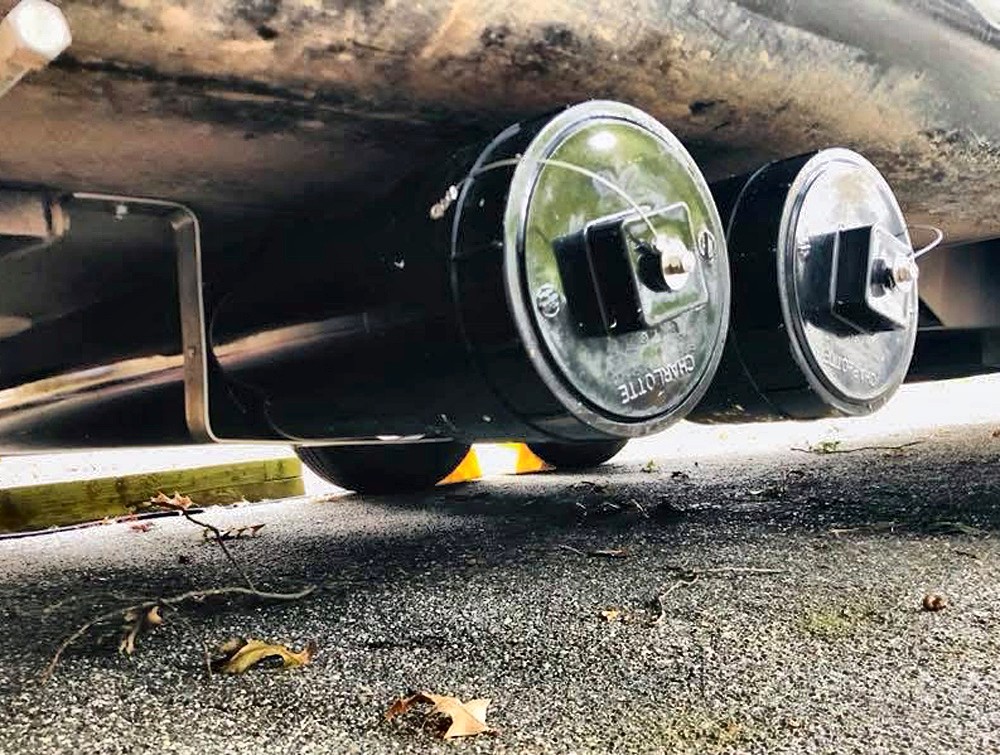
Long, thin gear had always been a storage headache, so we had DJ, our favorite Airstream technician, replace the single four-foot factory storage tube with a pair of eight-foot black-painted sewer pipes. Screw caps with wire safety lanyards close all four ends, and stainless steel strapping secures the tubes to the underbelly. The result is dry, secure storage for fishing rods, flagpoles and masts, our Wi-Fi and cellular booster poles, amateur radio antennas, diamond willow hiking poles — and whatever other long, spindly object finds its way into the collection.
Upgrade Water Inlet to Stainless
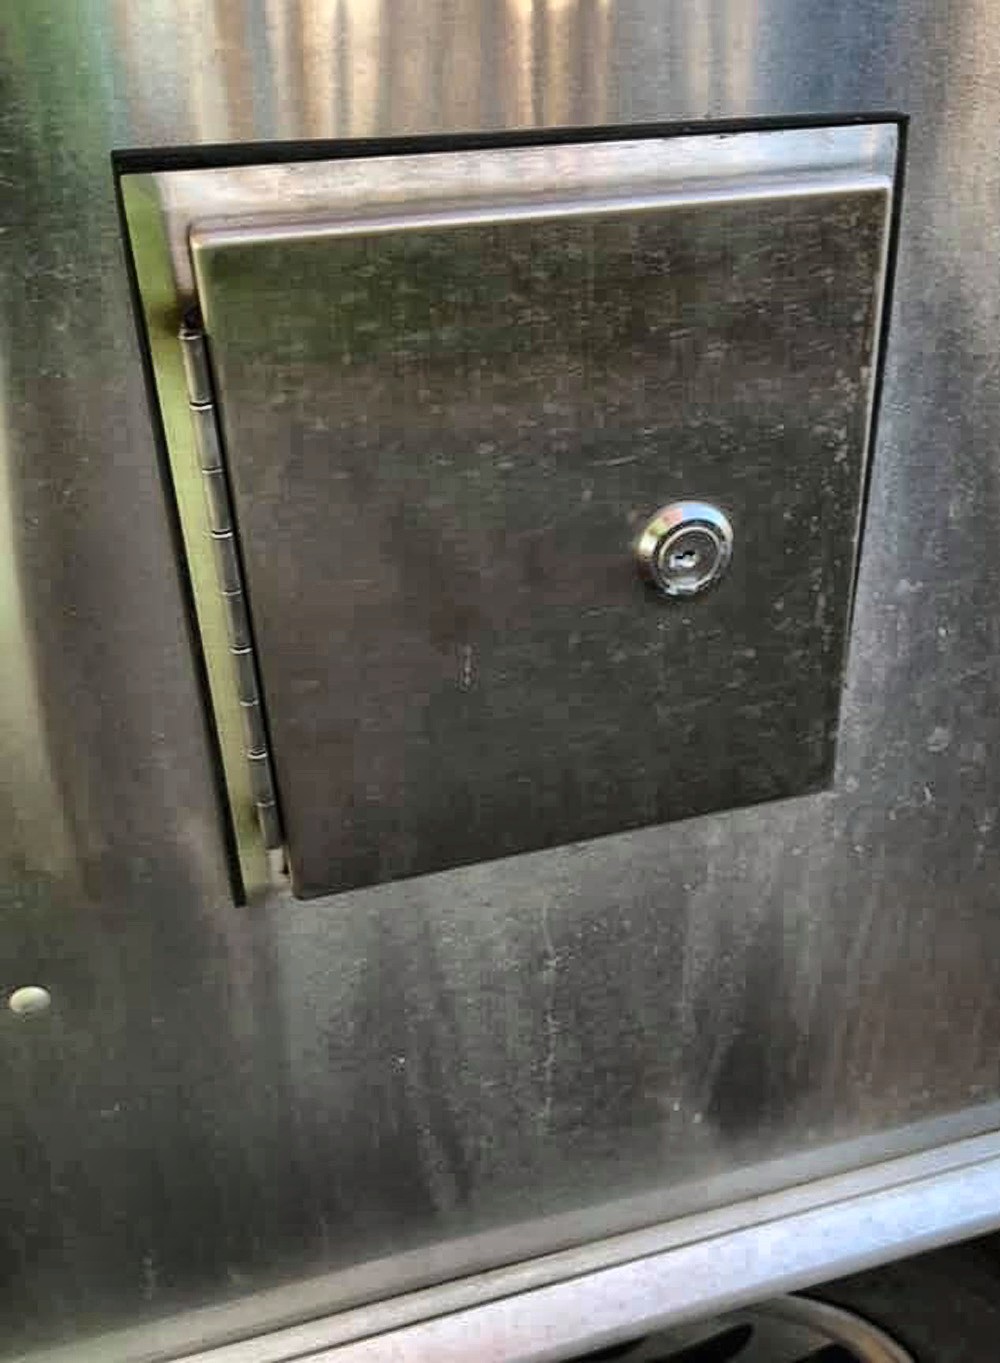
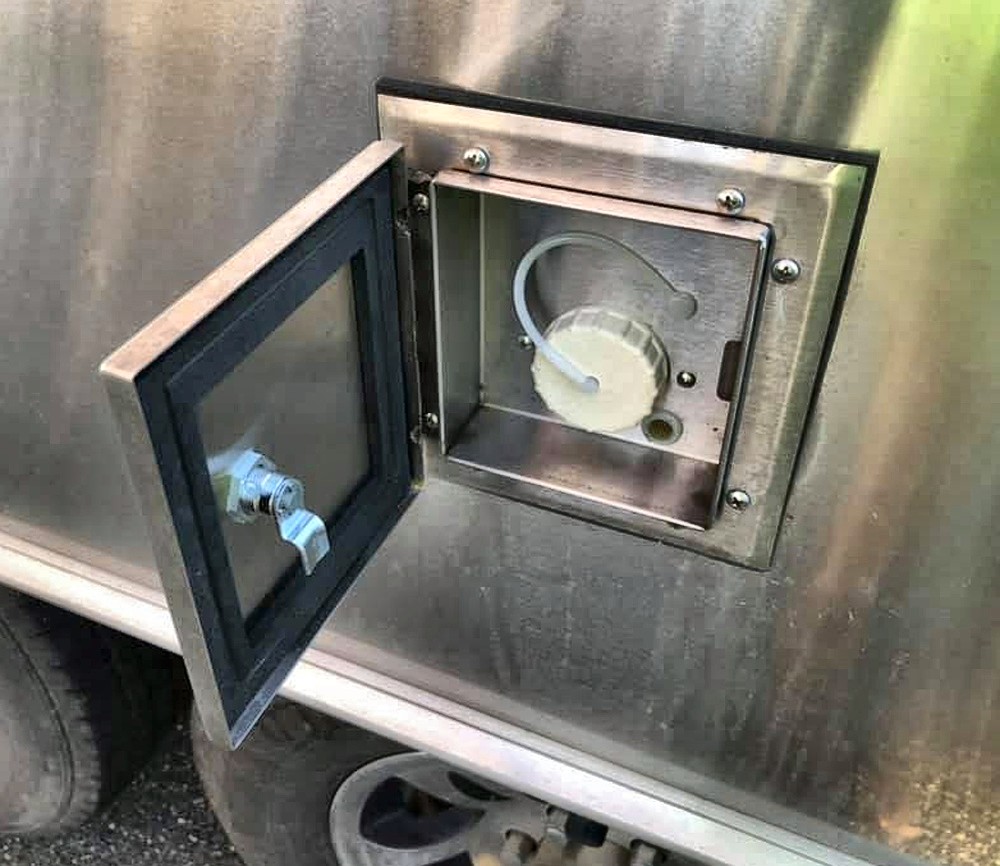
Stainless Steel Water Fill with Lock, part #39769W. This one falls squarely under beautification rather than necessity, but there's real satisfaction in swapping the basic plastic water-inlet cover for a durable, elegant stainless version — ours came from Out-of-Doors Mart in North Carolina.
Upgrade Exhaust Fan to Stainless
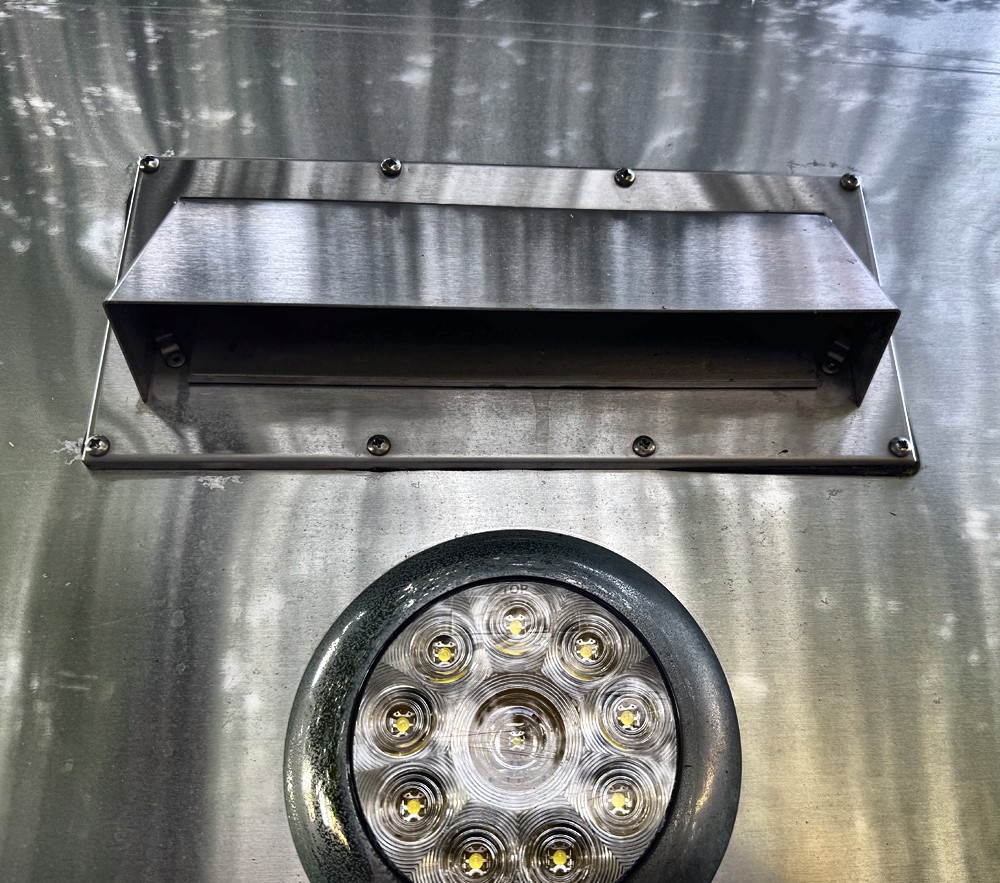
The OEM aluminum range-hood vent had corroded and oxidized to the point of needing a manual push to open or close. Its stainless replacement opens and closes automatically, seals more securely against the weather, and — as a bonus — looks considerably sharper against the trailer's skin.
Stainless Mesh for Furnace
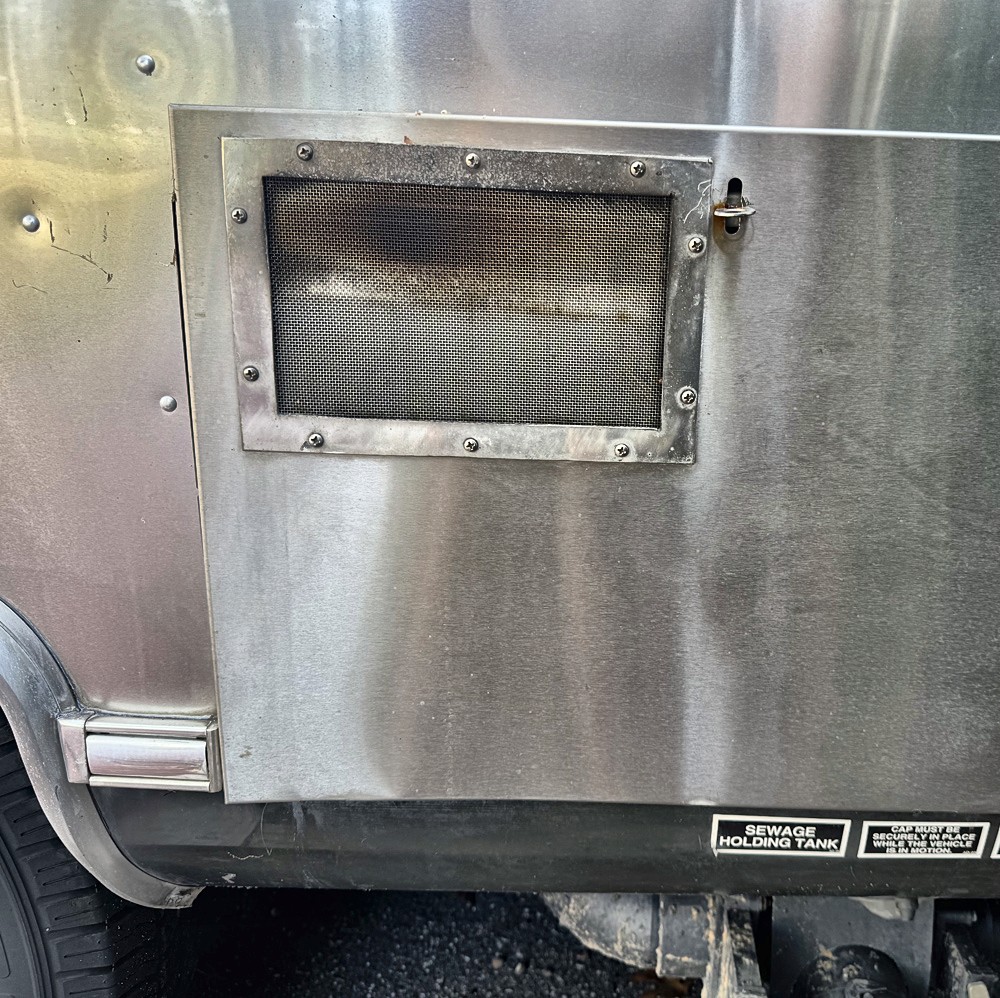
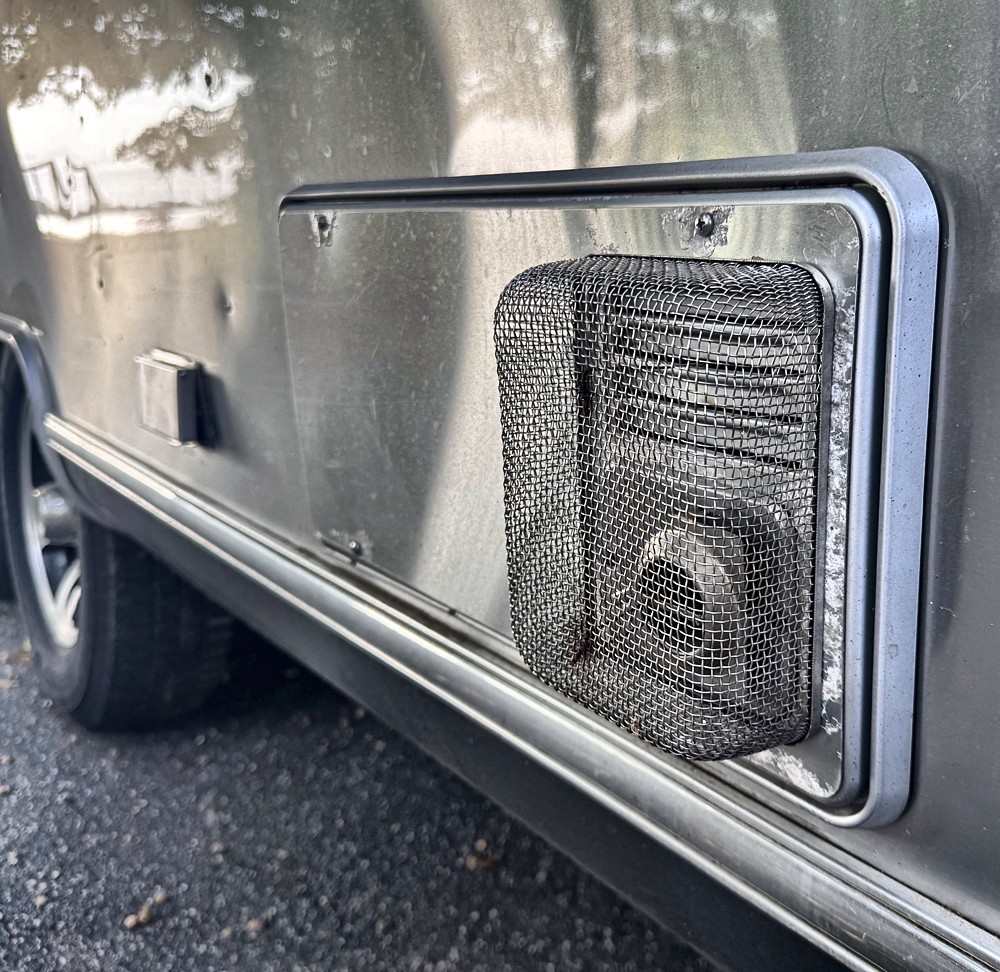
Every year, without fail, the furnace and water heater refused to light on our first trip out — and every year the cause was the same: mud daubers had made themselves at home in the heater orifices over the off-season (Virginia may simply have more than its share). The wasps are drawn to the ethyl mercaptan smell of propane and pack hard mud nests into the outdoor intake and exhaust tubes, the combustion blower, the burner, and occasionally the heat exchanger itself. A fine stainless mesh guard fitted over the furnace air intake has put an end to it for good.
Stainless Mesh for Water Heater
The same fine stainless mesh treatment applied to the water heater's outdoor air intake, closing off the last easy entry point for nest-building wasps and keeping both appliances lighting reliably on the very first trip of the season.